
Finding the proper techniques can be tough if you’re training a dog. It can be even tougher if you’re training a dog with behavioral issues.

The internet is inundated with opinion pieces on training. While one trainer advocates the harness, another hates them. Some say try the prong collar, and others will vouch for anything BUT the prong collar.
Prong collars may look intimidating, but sometimes they’re necessary. When fitted and used correctly, the prong collar can turn your training program around and set your dog up for success. They’ve proven to be particularly effective on dogs with certain behavioral issues and even those without them.
The key to using the prong successfully is in how you put it on. If you’re unsure where to start, let us show you how to put on a prong collar the right way, so you and your dog can work together comfortably and safely.
What Is A Prong Collar?
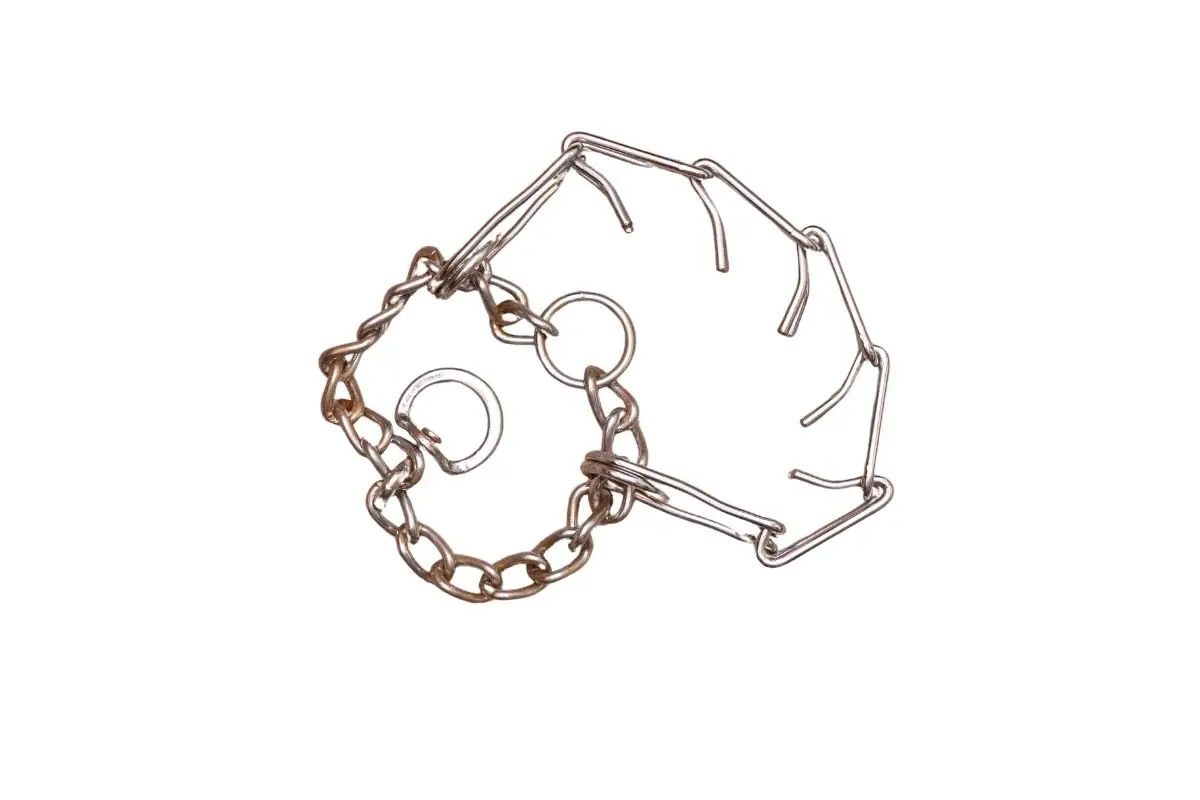
Prong collars are made of metal and have a series of chains connected together. The open ends of each chain face the dog’s neck. Each metal link has a blunted point that will pinch the skin on your dog’s neck when the collar is pulled.
Prong collars are not designed to be a long-term tool. Instead, the prong is used temporarily during training to communicate with your dog and to help it learn the commands you’re trying to teach.
The prong is usually used to teach a dog to stop pulling on the lead in beginner obedience classes or to gain more control over a reactive dog.
You should NEVER use the prong collar to discipline your dog. It is a training tool only, and it should not be worn 24/7. The blunted ends are designed not to cause pain.
However, some controversy remains over the use of the prong. Some trainers recommend them, while others will advocate more for reward-based training.
Putting On A Prong Collar
Prong collars are not the same as your standard pet shop collar. So, putting one on safely is not as simple as slipping it over your dog’s head and setting off on your walk. So, let’s explore the most crucial things you’ll need to do when fitting your prong collar.
Unhook, Don’t Slip
Prong collars aren’t designed to slip over your dog’s head and slide down the neck. To put the prong on correctly, you’ll need to unhook the links of the collar (usually by pinching the links and pulling them apart) and then reattaching it around the dog’s neck. We’ll come back to that later.
Reconnecting The Collar
Once you’ve unhooked the prong, you’ll need to attach it to your dog’s neck. To reconnect the links, you’ll need to put one side of a prong link in another connecting link. Then, to secure them, squeeze the link with your thumb, and the other side should fall into place.
Both prongs should be lined up, and your thumb pressure should be enough to secure them back together. If you’re feeling resistance, you probably don’t have the links lined up correctly. Remember to squeeze the links together; otherwise, they’ll never reconnect.
Prong Collar Placement
The most important thing you’ll need to consider is the placement of your prong collar. NEVER place the prong collar low on the dog’s neck. This can damage the trachea. The prong collar should be positioned high up the neck, right behind the dog’s ears, and under the jaw.
The best way to check the placement of the prong is to attach a lead to the prong and pull it lightly. You should see the lead in a vertical position. It should not be sitting horizontally from your dog’s neck. If it is, this means the prong collar has been placed too low on the neck.
The Right Fit
One of the biggest mistakes made by beginner users is having the collar too loose.
For the collar to work correctly, it needs a snug fit. If you’re using a poorly fitted prong collar, you’ll create a pressure point at the front of your dog’s neck, which is their most vulnerable area. By ensuring the prong fits firmly, you’ll be able to tighten it evenly around the neck, reducing the risk of injury.
This may challenge common logic, but we promise it’s the SAFEST way to use a prong collar. You may be tempted to think that keeping the prong loose is more humane, but it can end up causing more harm than good. It can be more uncomfortable for your dog, increase the risk of injury, and reduce training effectiveness.
Training With A Prong Collar

Now you’ve learned how to fit your collar correctly, you’ll also need to know how to train effectively with them.
You should never start training with the prong collar straight away. This can scare your dog and make them fear the prong collar. Instead, you’ll need a slow and gentle introduction to use the prong collar.
Before starting training with the prong collar, spend a few days slowly introducing it to your dog. This can involve letting them sniff the collar and rewarding them, or putting the collar on for a few minutes at a time and rewarding again.
After a few days, your dog will start to associate the collar with positive behaviors and be happy to wear it for more extended periods.
When you start introducing the collar to your dog, gradually increase the amount of time your dog wears it. This could begin as little as a minute and then increase to 5 minutes, then 15, and so forth.
Make sure you’re rewarding your dog with high-value treats ONLY. Don’t use regular biscuit treats or kibble – your dog needs to build strong, positive associations quickly! Instead, use some of their favorite high-value treats, such as chicken, cheese, or sausage.
Before you jump into placing the collar on your dog, simply reward them for looking at the collar or sniffing. Once you’ve rewarded them several times for these behaviors, you can start marking the look at the collar, or sniff of the collar, with an upbeat ‘yes’, and give them a treat straight after.
Final Thoughts
The controversy around prong collars is rife, but they’re sometimes necessary. They’re an excellent tool for improving general behavior and leash manners, but ONLY when used correctly.
Fitting the collar correctly, and taking the time to build up positive associations, is key. The trick is not to rush into training and allow your dog the time and space it needs to view the prong collar as something positive and exciting.
When you start training, positive associations and a correctly fitting collar will allow your dog to understand corrections easier, not feel pain, and enjoy wearing the prong.